xDrip » Features » How to follow with xDrip » xDrip Sync Setup
This page explains how to set up xDrip Sync. You will need both the master and follower phones. All phones must be updated to at least the latest stable release of xDrip.
On the master phone, go to Settings −> xDrip Sync Settings, and tap Be Master for Followers.
Then tap Settings −> Show Settings QR codes.

Select xDrip plus security key settings only.

The QR code will now be displayed on the master phone.
On the follower phone, tap Settings −> Hardware Data Source and choose xDrip Sync Follower.
Then, tap Settings −> Auto configure.

Scan the QR code shown on the master phone’s screen.
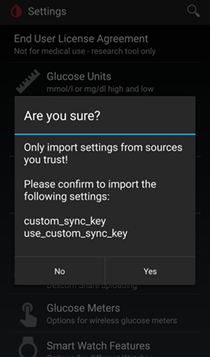
Approve the import.
A short video demonstration is available here.
If the scan does not work, you can set up the follower manually:
Under Settings −> Hardware Data Source, select xDrip+ Sync Follower.
Then, go to Settings −> xDrip+ Sync Settings and tap Handset Group Security Sync Key. Make sure the key matches the one shown on the same page of the master phone.
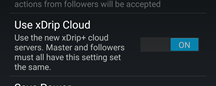
Enable Settings −> xDrip+ Sync Settings −> Use xDrip Cloud on all phones in the group.
See Troubleshooting below.
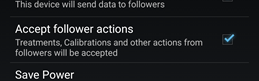
By default, the follower can upload treatments to the master, calibrate it, and even stop sensor on it. To prevent this, disable Accept Follower Actions.
This option exists so a parent can control a child’s master phone if the child is too young to perform tasks like calibration. If you are the one calibrating or stopping sensors and do not want the follower to accidentally interfere, disable this setting.